It's finally here and I'm so excited to share this with ya'll!!! I know many of you have been asking for this and I was looking for a fun way to to teach the money manager badge. What better way!
How to Play....
It's finally here and I'm so excited to share this with ya'll!!! I know many of you have been asking for this and I was looking for a fun way to to teach the money manager badge. What better way!
How to Play....
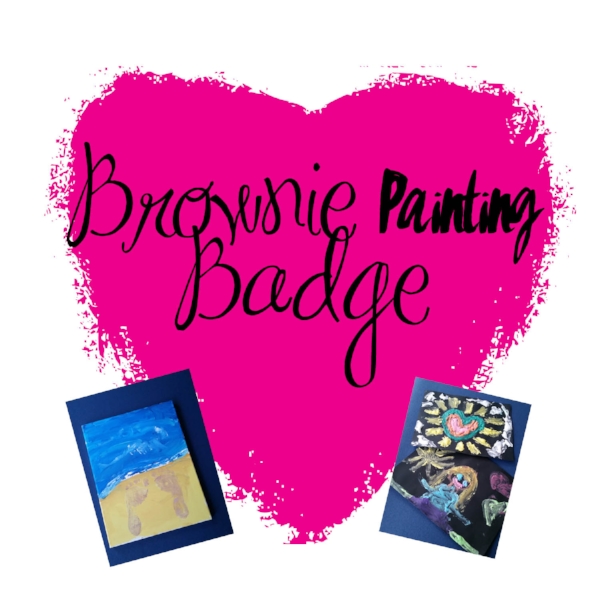
In an effort to keep our year girl led, it was no surprise that this was the first choice when the girls had the option to pick a badge. We had so much fun with this and it's definitely a two meeting badge. There is so much to do that it was impossible to fit it all in an one hour meeting.
The girls used their Girls Guide to Girl Scouting books and viewed the different types of paintings as given in the Painting badge requirements. I really wanted to turn this step into a field trip but we just didn't have the time with the holiday season around the corner but I would highly recommend scouting your area for local small art galleries. When I did my search I found several in our town!
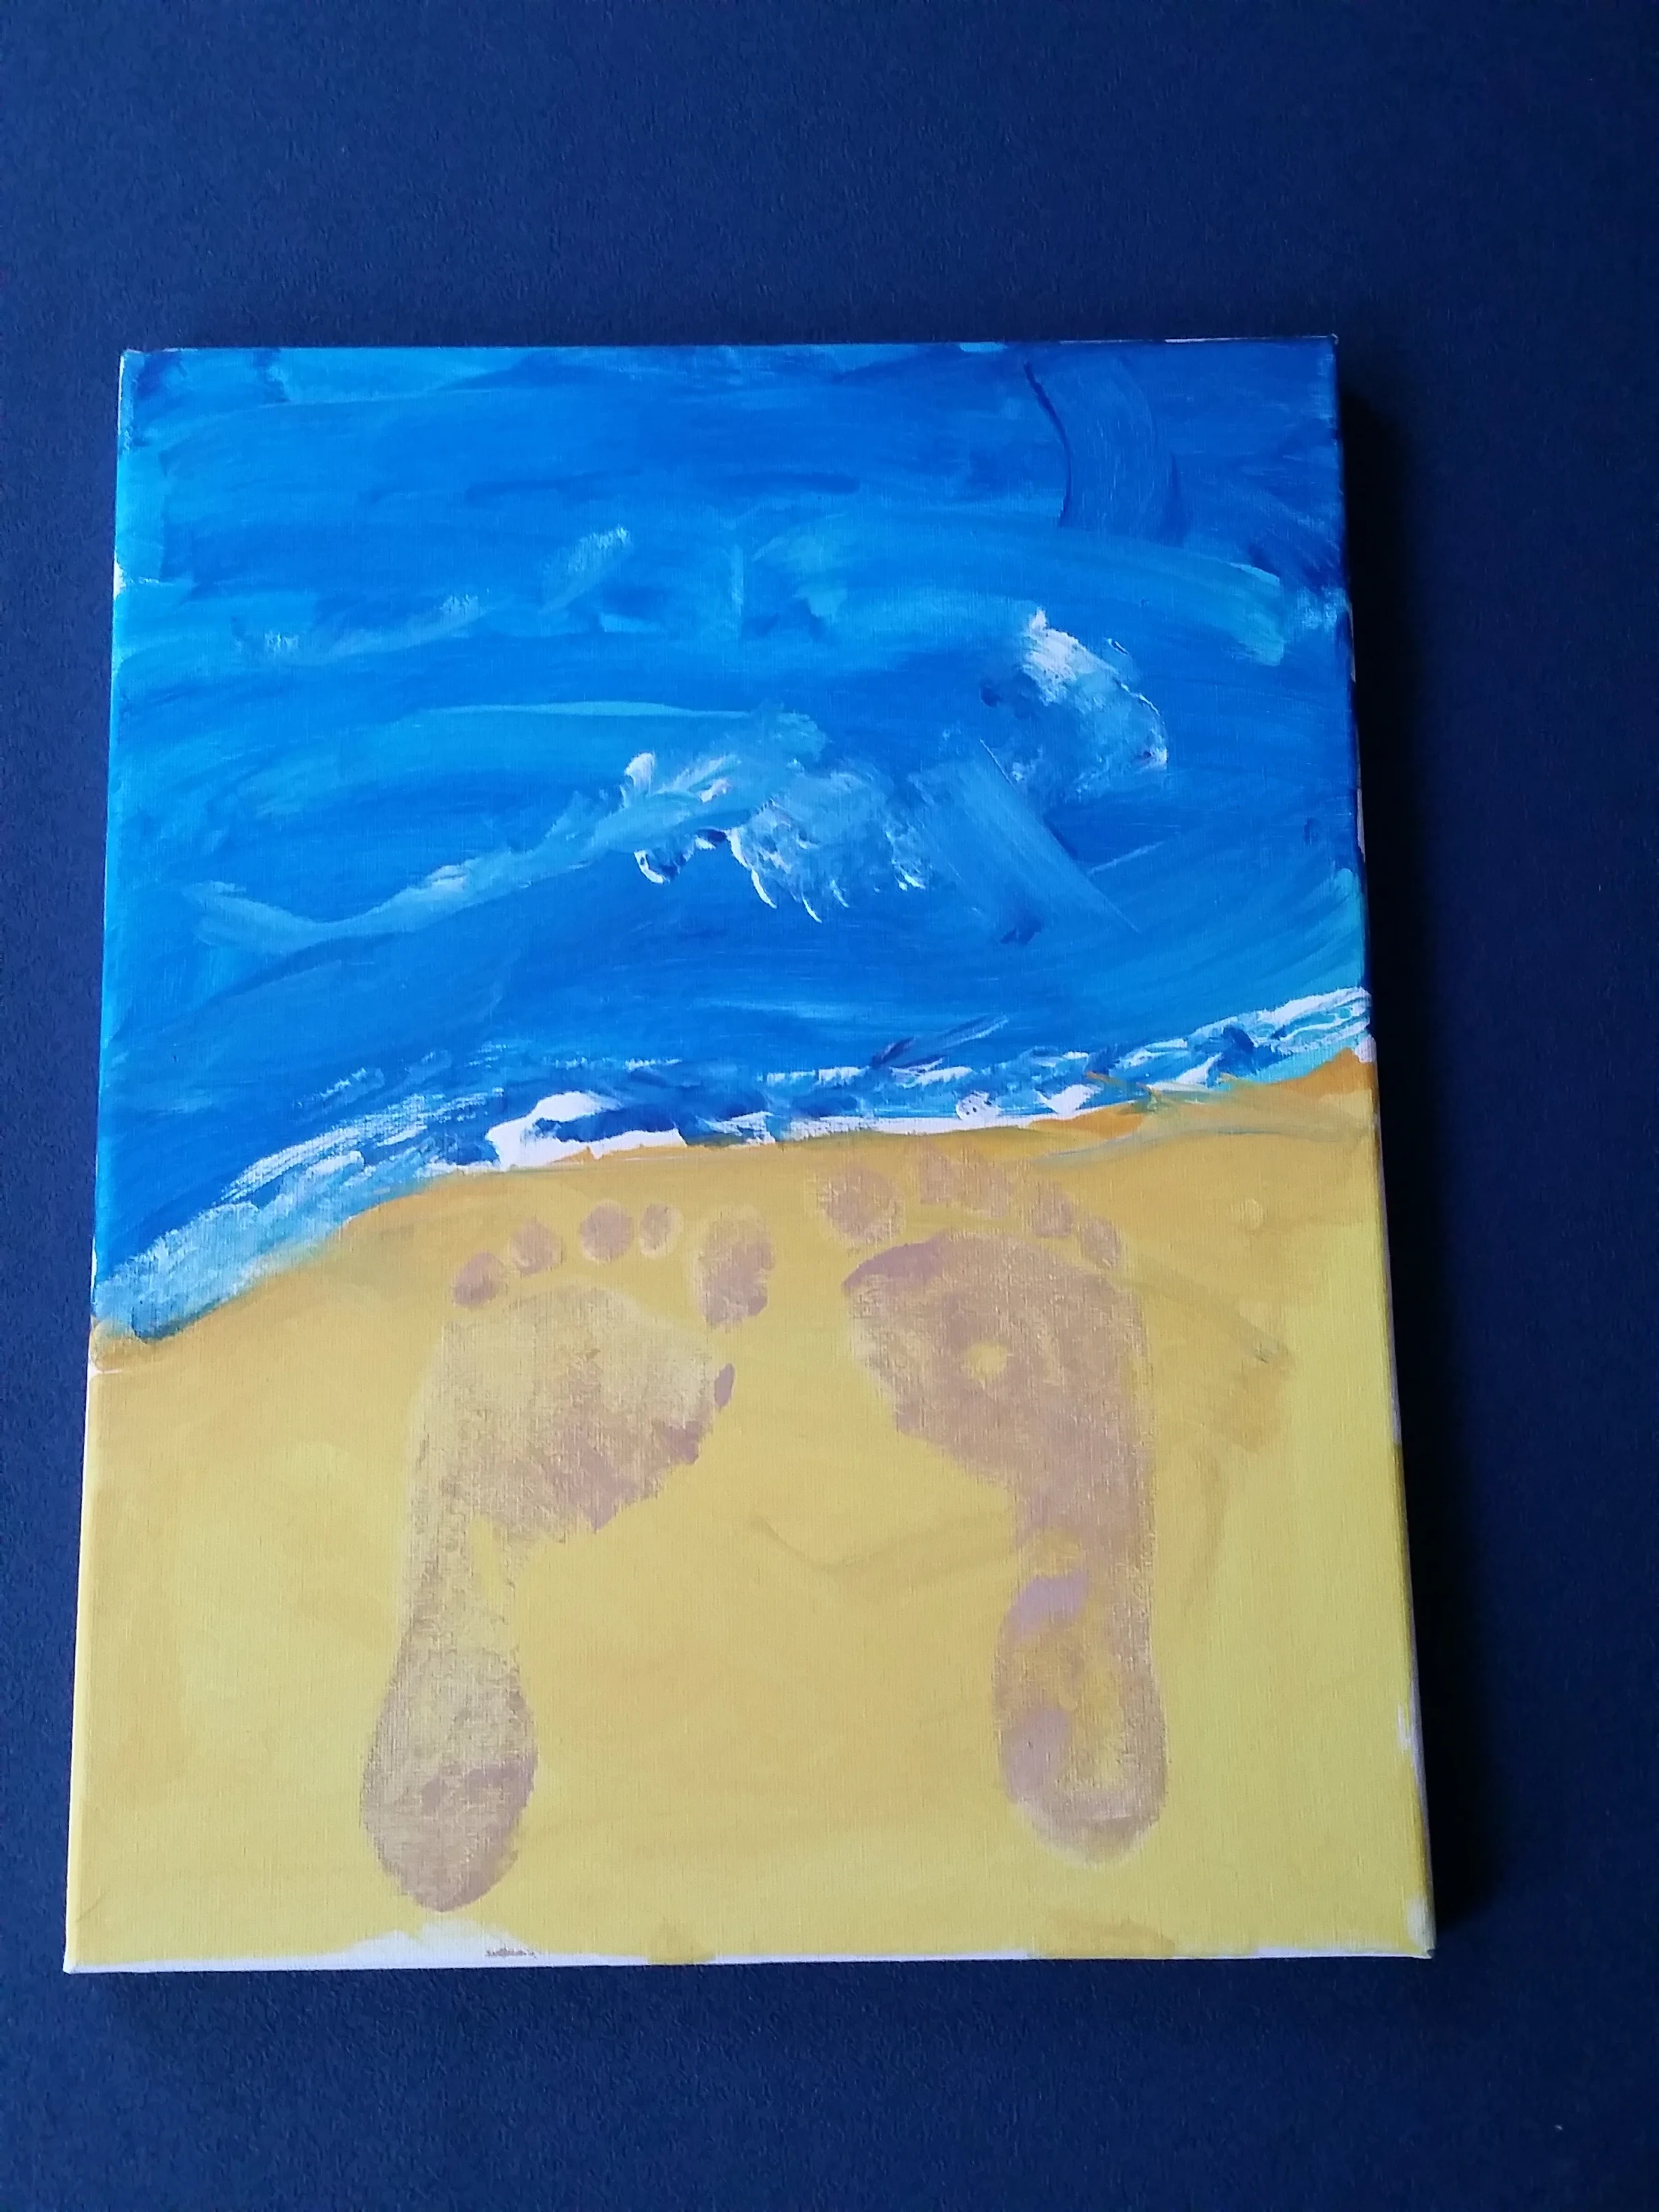
The girls had the opportunity to choose between two different painting options (dandelion or footprints in the sand). We actually incorporated step 4 in our paintings without even knowing it by using our feet!
I found bulk canvases on sale at Michael's craft store. You can also find some affordable ones here.
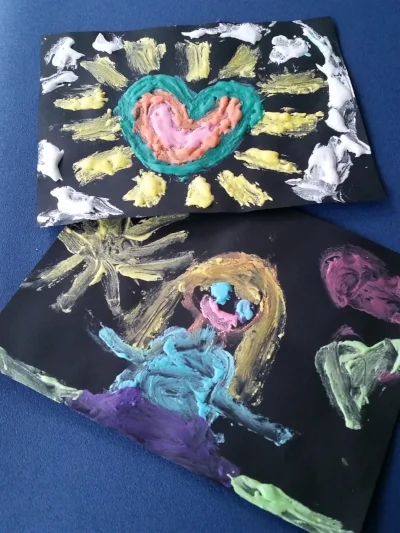
We used the suggestion in the Girls Guide and painted our moods with puffy paint! This was so cool and the girls had fun mixing their own puffy paint!
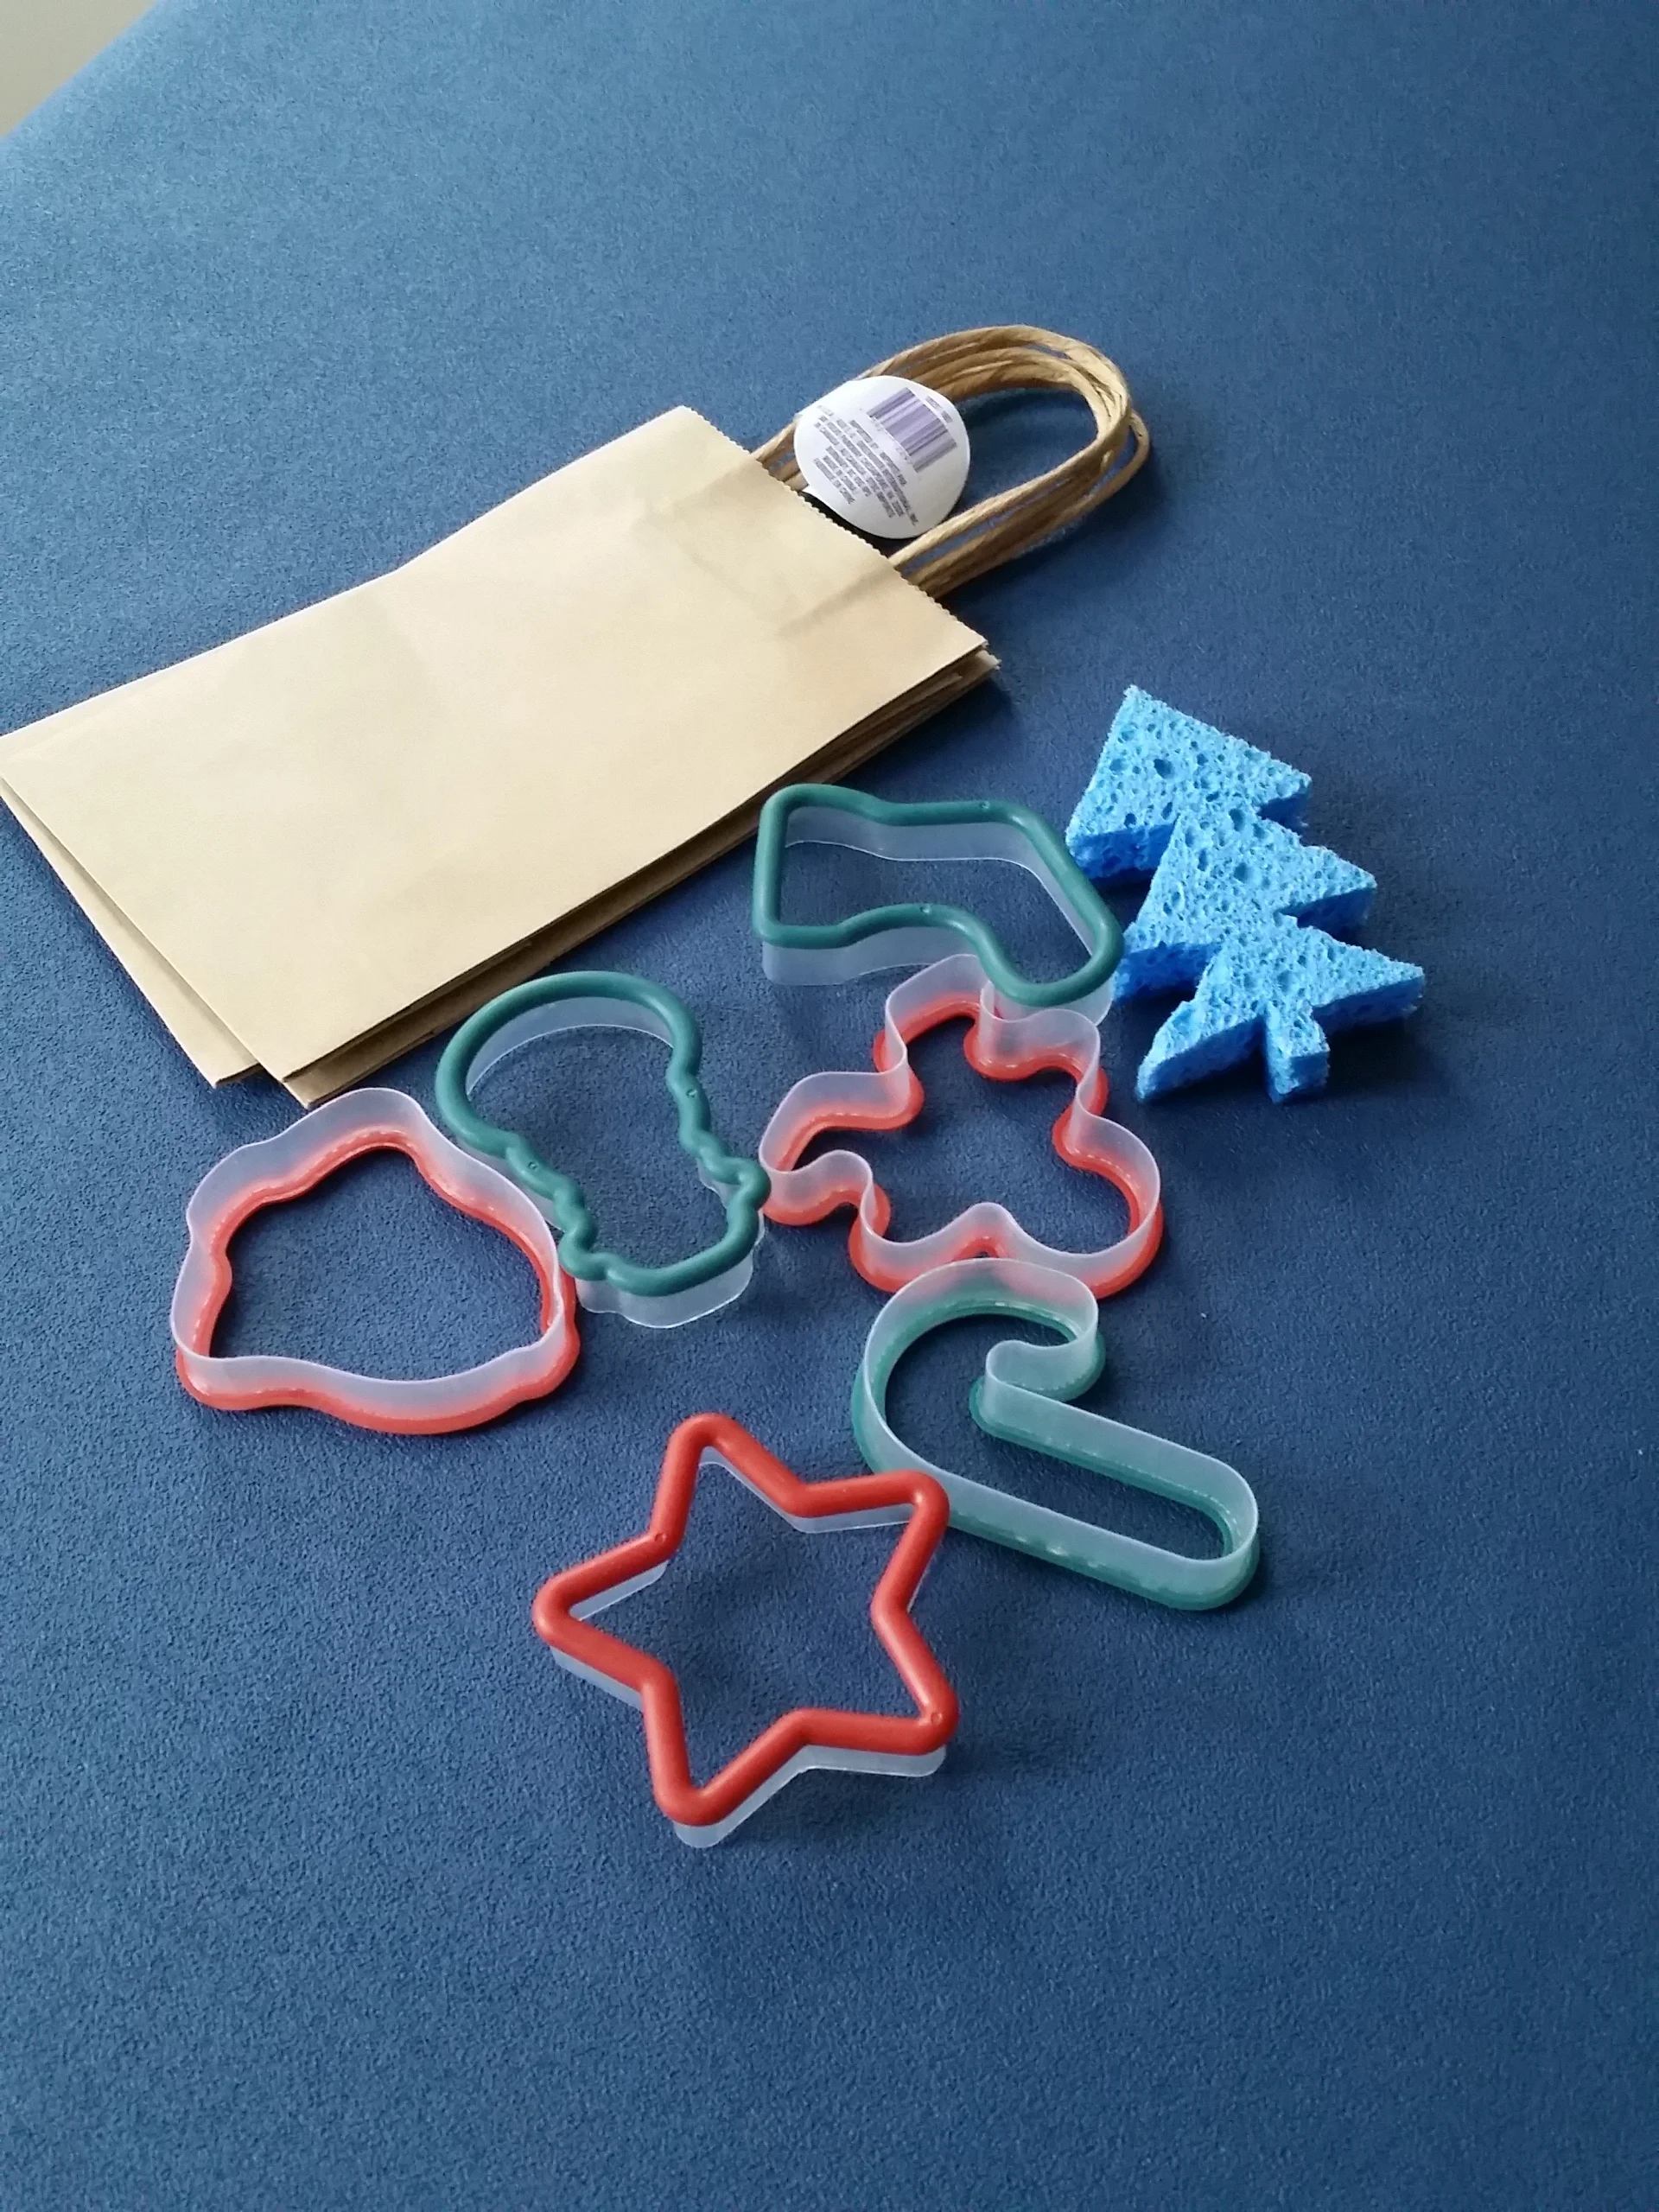
Since the holidays were right around the corner and we were feeling festive we used the stamping method to create wrapping paper out of old paper grocery bags. If you have any daisies in your troop this step will go right along with the clover petal and using resources wisely by recycling paper bags into wrapping paper. We also decorated brown paper gift bags!
Use cookie cutters, cut up sponges, and make your own stamps! It doesn't just have to be for the holidays, you can make birthday wrapping paper for Juliette Gordon Low's birthday, too!
Keep this one girl led. Let them decided what mural they want to paint as a troop. Have them draw it our first. We used a poster board. If they are having trouble, guide them with some suggestions. Maybe they can paint a large picture of an animal and each take a part (daisies 3 cheers for animals). Maybe they want to paint a scene with each girl in the troop in it. The options are endless but give them time to think about it.
For our very first Brownie meeting we thought it would be a perfect to work on the Girl Scout Way badge! We had a couple new girls join our troop and this was a perfect way to introduce and re-introduce Girl Scouting!
This year we moved our meetings in home due to schedules and rental fees. The benefit of this is that I can use my smart TV to show the girls more videos since it draws their attention better than me standing in front of them reading. YouTube was great for teaching them some traditional Girl Scout songs!
We saved this step for the next meeting since it was on 10/30 but you can throw a mini party at any time! I made a Samoa Birthday Cake and we sang the Birthday song and blew out candles.
We chose to do the "create a story, play, or puppet show" step. I was a little worried about how this would work for my particular bunch of girls but they really enjoyed it! We split the girls up into groups of 2-3. We pre-wrote out the different lines of the Girl Scout Law and had each group pick one out of a hat. They had to come up with a skit for their puppets based on a part from the GS law. We also had a cute craft where the girls made cat glasses that they wore for the skit. We called it the Girl Scout cats! You can find a similar idea with animal masks here!
****If you have a video recorder I would recommend recording the skits! We put them up on our sharesite and Facebook page for the parents. It was soooo cute!
This one is easy. We spent some extra time at clean up discussing how Girl Scouts always leave a place better than we found it. We talked about three ways that we could leave the room better than before... Clean up scraps, push in chairs, put away materials. While cleaning up we sang the clean up song as we tidy up the area.
We covered the Brownie Story during this step. I showed the girls where to find the story and read along in their own books. Our girls have a hard time sitting still when we read through the stories. I think its due to the number of girls but I used YouTube on this one as well and it got the girls attention!
Here is a video we used...
Who doesn't love an emoji? My daughter absolutely loved when we made emoji pins as xmas presents last year so I knew turning them into a swap would be fun. We did this as part of the Making Friends badge. Girls made two, one for themselves and one to share with a friend!
Here is the third session for the 3 Cheers for Animals Daisy Journey! This session was actually a combination of two different dates. One was an offsite Yoga class that the girls got to participate in and one was a regular meeting session but both can be easily combined into one session!
We visited a local yoga studio that specifically had a program for Girl Scout Daisies and Brownies. There are a lot of opportunities in your community, specifically yoga studios, which offer programs you just have to search their website.
Our specific yogi instructor was certified to teach yoga to children. The girls even asked the tough questions about what the sign hanging on the wall meant and in true Girl Scout fashion she answered beautifully!
"Yoga is not a religion, it's a practice and a way of life. Yoga is all inclusive and can be practiced by anyone. All paths lead to yoga = union of the souls to God."
The girls started off learning breathing exercises and how this can be helpful in handling difficult feelings. The conversation then turned to the importance of respecting our bodies by making sure we take care of ourselves through nutrition, exercise, and healthy habits (brushing our teeth and hair, picking up after ourselves, respecting others).


Next, the girls learned the basic sun salutation and the different yoga poses!
Our troop loves crafts so when the instructor brought out the wooden beads the girls were so thrilled to have a take home keepsake to remember the day! This simple sweet and easy to assemble craft can be made with pipe cleaners and wooden beads from a craft store or even left over pony beads your troop has.
Some of you may have already seen this on Pinterest but Brave girls offers free printables for this wonderful activity!!
The purpose of this activity was to celebrate each girl's unique self and differences and how it's awesome to be different! The girls created their own self-portraits and used words to describe themselves.
To prepare for this activity I did ask each girl to think of what represents them and think of words they could use. I also provided them with some words for those that didn't bring their own. Identifying that they were all different also taught them the importance of respecting themselves and others, which affirmed their previous chat about the purple daisy petal.
The Scouts earned their Gloria (Purple) petal for respect myself and others! This also completed the Birdbath Award! The next session the girls prepare for their animal care fair and earn the Red Robin Award.
If you missed the first two sessions you can find them here:


I'm really excited to share with you Mamas this easy and fun activity your kids can do by themselves! My 4 year old was able to do this so the younger age's can do it too!
I hinted to the girls that symmetry might look best but really let them design/color their own shoes. I do recommend sticking with 4-5 colors. You don't need to press in hard but you do want to fill in all the areas that you don't want white. This will give it the best tie dye look.


I recommend doing this outdoors or in a well ventilated area. If you don't have a spray bottle you can use a dropper as well. Spray until you get the desired look. This might take a couple rounds of spraying.
The girls REALLY enjoyed this activity! It was super easy for them and left room for creative mistakes. The best part, they did it all by themselves! They have been wearing these shoes nonstop and have been receiving so many compliments!
It's Summer Solstice today and what a better way to kick off the new season with this summer treat! We recently went to a BBQ with some of our friends and these little goodies were a big hit! I LOVE ice cream and I knew that day was going to be a hot one so this tasty cold treat was just what the kids (and adults) had in mind.
Ingredients
Start by laying out your graham crackers for roasting the marshmallows. Gently break each cracker in half and arrange 12 on a baking sheet. Put one marshmallow on top of each cracker.
Broil on low for 3-5 minutes. Make sure to keep a close eye on them so the crackers don't burn. You might want to do a test run first to see what time works best depending on your oven. Five minutes worked perfectly to get the nice toasty glow. Once you have pulled your roasted marshmallows from the oven, allow to cool for 10 minutes. Set aside.
Lay out 12 more crackers on a another sheet or dish. Heat up your chocolate frosting in the microwave for 30 seconds. Use a spreader or spoon your frosting on the crackers to create a think layer of chocolate goodness. Place them in the fridge for 10 minutes.
Take out your chocolate ice cream and remove the sides of the container so you have one rectangular brick of ice cream. Use a knife and slice sheets of the ice cream about 1 inch thick. If it's too frozen you can let it thaw for about 10 minutes but you want it pretty solid. Cut your sheet of ice cream in half ( should be the size of your graham cracker). You might have to slice off a little to make it fit.
Assemble
Lay your chocolate frosted crackers down, put one slice of ice cream on top, and finish with your marshmallow cracker (facing down). Press down to slightly smash the marshmallow. Freeze the sandwiches until you are ready to serve.
BOOM! These as super simple and so sweet! I hope you enjoy!
Last week I shared with you the fantastic start to the girls favorite Daisy Journey, 3 Cheers for Animals. We started off with a bang by visiting a local riding club and learning all about horse safety, care, and even a wonderful riding lesson. I found that the girls were much more engaged with the Journey programs with hands on experiences and outings so I continued those good vibes (and basically threw out the leader guide to this journey) with a visit to our local animal shelter.
Tip: Lots of shelters will offer tours that are tailored to the Girl Scout programs. Just look up the nearest shelters and look for a "Education" or "visit us" section.
Double tip!: If you have a multi level troop, this journey works well with the pet badge for Brownies.
The shelter we visited was a nice bridge from learning about animal care to self care (requirements for the Birdbath Award). The spokesperson had a short presentation/conversation with the girls about our needs vs animals needs. They were very similar{wink}.
She broke them down into three categories and had the girls list the ways they themselves feel happy, healthy, and safe. Once the lists were complete she explain how the animal's needs were similar such as, "animals need to feel safe and secure. They need to feel like they have a family and a home just like you do."
"You all mentioned that you need healthy foods, water, well check ups to be healthy. Well animals need that too so they visit the vet and get their vaccinations."
The girls also learned how they needed to practice safety around animals so both can feel secure. We learned about approaching pets in the park, what not to do with pets and warning signs to back off. The girls really absorbed what they learned and then came the fun part! We got to tour the facilities and see what actually goes into running the animal shelter.
Not only did the girls learn more about animal care and why shelter pets need love, it was an introduction to the second part of this journey which is learning to care for themselves.
After we had left the shelter, the girls have continued to ask about going back. They were very touched and moved by the stories of how the animals had come to the shelter. I won't go into too much into detail now about the RED ROBIN PROJECT but the girls did donate a large portion of their cookie proceeds towards buying wish list items for the shelter. Look at the picture below to see what an amazing contribution they made!
Stay tuned for next week's Session 3 of the 3 Cheers for Animals journey! We are having a yoga and painting party to finalize their Birdbath Award!
Bonus: There will be some FREE PRINTABLES! Don't forget to sign up for our newsletter so you don't miss it!
So to be perfectly honest, I'm not a fan of leaders giving out end of the year gifts and I totally think it should be the other other way around but I really couldn't resist these! lol
The idea is pretty simple and affordable. It could also be used as a jewelry making badge if you have the girls make their own!
Optional:
Print out your image on photo paper. Regular paper will not work and it will get wet. If you have a circle punch small enough for this that would be idea but I used scissors. Use E6000 to adhere your printable to the bottle cap. You can also use rubber cement but I find that E6000 works the best. Allow it to dry. It can take a couple hours. If you are doing it with a troop and are pressed for time you can use rubber cement but make sure you don't get it on the front facing image.
Word of advice, dispense a small amount of the dimensions goo on a piece of paper first to avoid air bubbles. Start in the center of the cap and in a circular motion fill the entire bottle cap. If you go a little over that is okay. When the dimensions goo dries, it sinks a bit. Use a tooth pic to get out any air bubbles... if you see below, the air bubbles will dry like air bubbles so get them out. Allow this to dry for 3 hours or overnight.
If you purchased the bottle caps that already have the punch with the jump rings then this will be easy. You can cut your ball and chain cord to the desirable length your girl prefers. I recommend 18 inches long. Attach your connectors and voila!
If you want to go an extra step, you can add colored dangle beads link in the picture below. If you have a stamping set, they you can also add initial plate charms too.
Who's ready for another Daisy Journey Series!!! This month we'll be venturing our way through the 3 Cheers for Animals Daisy Journey! I think fall is the perfect time to start this journey. We started our adventure with a visit to a local horse academy, followed by a visit to an animal shelter, and ended with a Yoga session that taught us about how we can take care of and respect our bodies! In between these super fun adventures we weaved in our regular Girl Scout meetings to take the time to discuss and share what we have learned and how we can use our Red Robin Project to make the world a better place!!
Our first session was kicked off with the horse riding and care lesson. If you are looking for a affordable riding club in the Chicago area, I would be happy to suggest a place. This riding club was small but so very wonderful!
Their program was specifically tailored to the Girl Scouts. Our session started off by learning about the safety rules of horses...
Then our group split into two smaller groups and we got a lesson on horse care. The girls learned the different brushes you use to clean the horse and how to brush them. They realized fast that there is a lot of care in these large animals and it's not all fun and games. Brushing a horse takes some arm strength!
After the brushing the beautiful creatures, the girls got a quality horseback riding lesson. They learned how to get on a horse properly, how to hold the reigns, how to direct and steer the horse and even got them in a trotting lesson! I was impressed with the quality of instruction!
Lastly, the girls got a lesson in horse nutrition. They made horse treats (with honey, oats and some other stuff) and baked them up in the oven. While we were waiting for them to cook, we got to see real horse teeth and learned about how horses need dentists, too. Did you know horse teeth don't stop growing? I didn't either! Horses also can't eat regular potatoes but they can eat sweet potatoes!
When they were finished they got to feed the horses from a bowl because we learned you don't feed from your hand or you risk getting chomped on.
It was such a great experience and the girls also got a fun patch (provided by the riding club)! The cost was $35 per girl which I think was so reasonable for the 2 hour program. We used our cookie money proceeds to fund this trip and it was money well spent. The girls keep asking to go back!
She preferred to eat the snack over feeding the horse.. lol She must have been really hungry!